Better than Expected

The upgrades to Lil' Miss went well.
The old harnesses were rubbed down with steel wool and painted with Rustoleum. A few spent cones were handy for this process.

The transformation was amazing!
They went from this:

To this:

The first four shafts are the old ones. They also sport 1,000 new heddles.
In my previous post, I explained why I put 150 heddles on the first four shafts and 100 on each of the last four shafts.
I know people often complain about dealing with heddles because they are fiddly and can become twisted and tangled in an unholy mess. However, with brand new heddles, adding them can be quick and easy with the use of zip ties.

I had two bundles of 500 heddles each. The first thing I did was to open the first bundle and unroll it.

One end is usually painted. These were painted green.

It is my habit to put the painted side on the bottom.
Once I unrolled the first batch, I removed a heddle support bar from one of the empty shafts and ran it through the top of the heddles.
I was pleased to see they were all packaged going in the same direction!
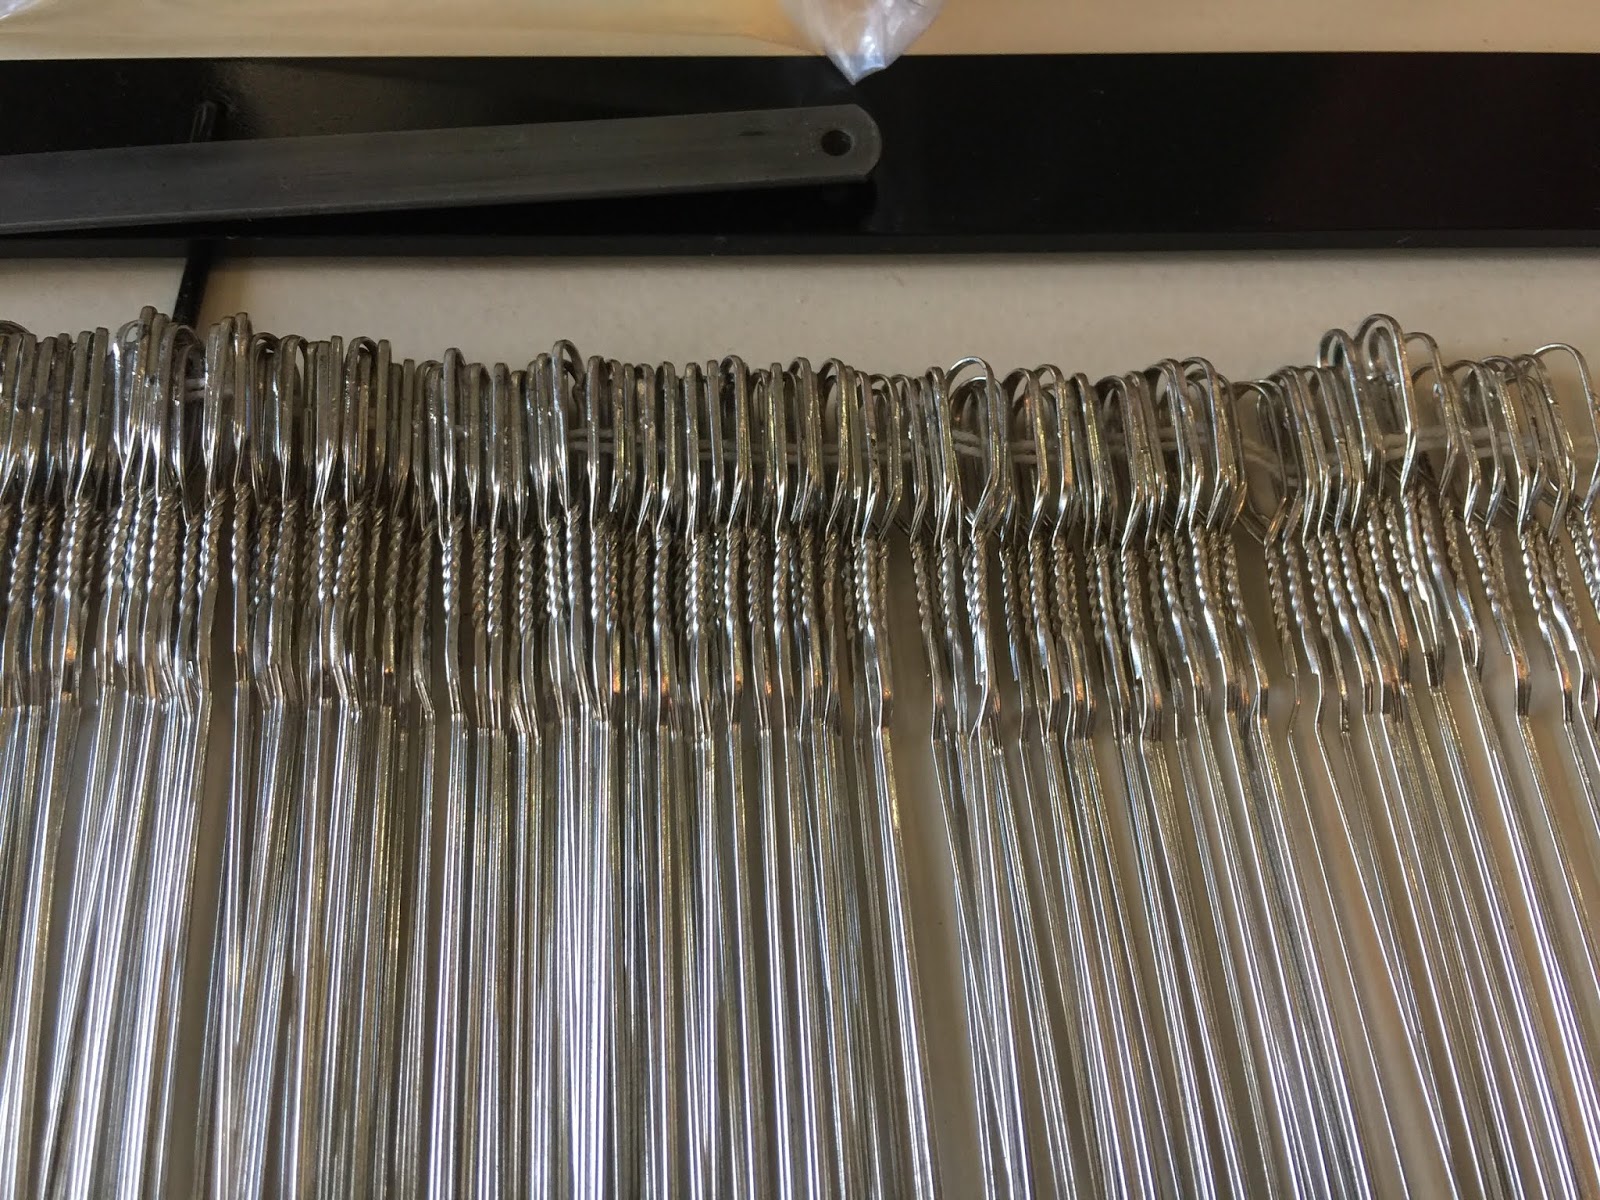
I left the string holding them together intact until I had a support bar running through each end. Then I removed the strings and spread the heddles out on the bars.
Thereafter, I counted out five groups of 100 and secured each group with a pair of zip ties, one on top and the other on bottom.
What I like about the zip ties over pipe cleaners is that they are flat and they lock.
The flatness of the ties help keep the heddles in order.
Once secure, I pulled the heddles off and immediately slipped them onto their respective shafts.
I forgot to take a photo of what they look like bundled, but here are the old flat steel heddles I removed from the existing harnesses. These fit my friend's Leclerc Colonial loom, and I will add them to it later.

There were ~700 heddles on the old shafts. It did not take ten minutes to move them with the zip ties because I did not have to count them.
Counting the new heddles took longer than anything else.
Once all the shafts were loaded with heddles, I counted them again (and made sure none were twisted or loose) and used nail polish to mark every 25th heddle. This makes it easier for me to count heddles for threading purposes.
While I worked on those, the handsome (and handy) husband added the new harnesses and treadles to the loom!
The existing treadles are 50 years old. The maple has darkened beautifully with age. The new ones are so bright and light. I asked him to arrange them in this fashion to help me distinguish the groups.

Beginning from left to right, I set my treadles up in a "walking" fashion, as follows: Tabby, 1, 3, 5, 7, 2, 4, 6, 8, Tabby. The left half are my odd shafts, while the right half are my even shafts.
To further keep things separate, I always make sure I am throwing the shuttle toward the foot depressing a treadle. Thus, if I am depressing an odd treadle, I am throwing with my right hand. If I am depressing an even treadle, then I am throwing with my left hand.
This has actually worked very well for me. In fact, I have caught several mistakes in the making when I realize something does not "feel" right. I have looked down to find myself throwing from the right with an even numbered treadle depressed, which means I missed something.
Of course, there are treadling patterns which all for two even treadles or two odd treadles in a row, which kind of throws my system off, but most of the ones I have been weaving were odd-even.
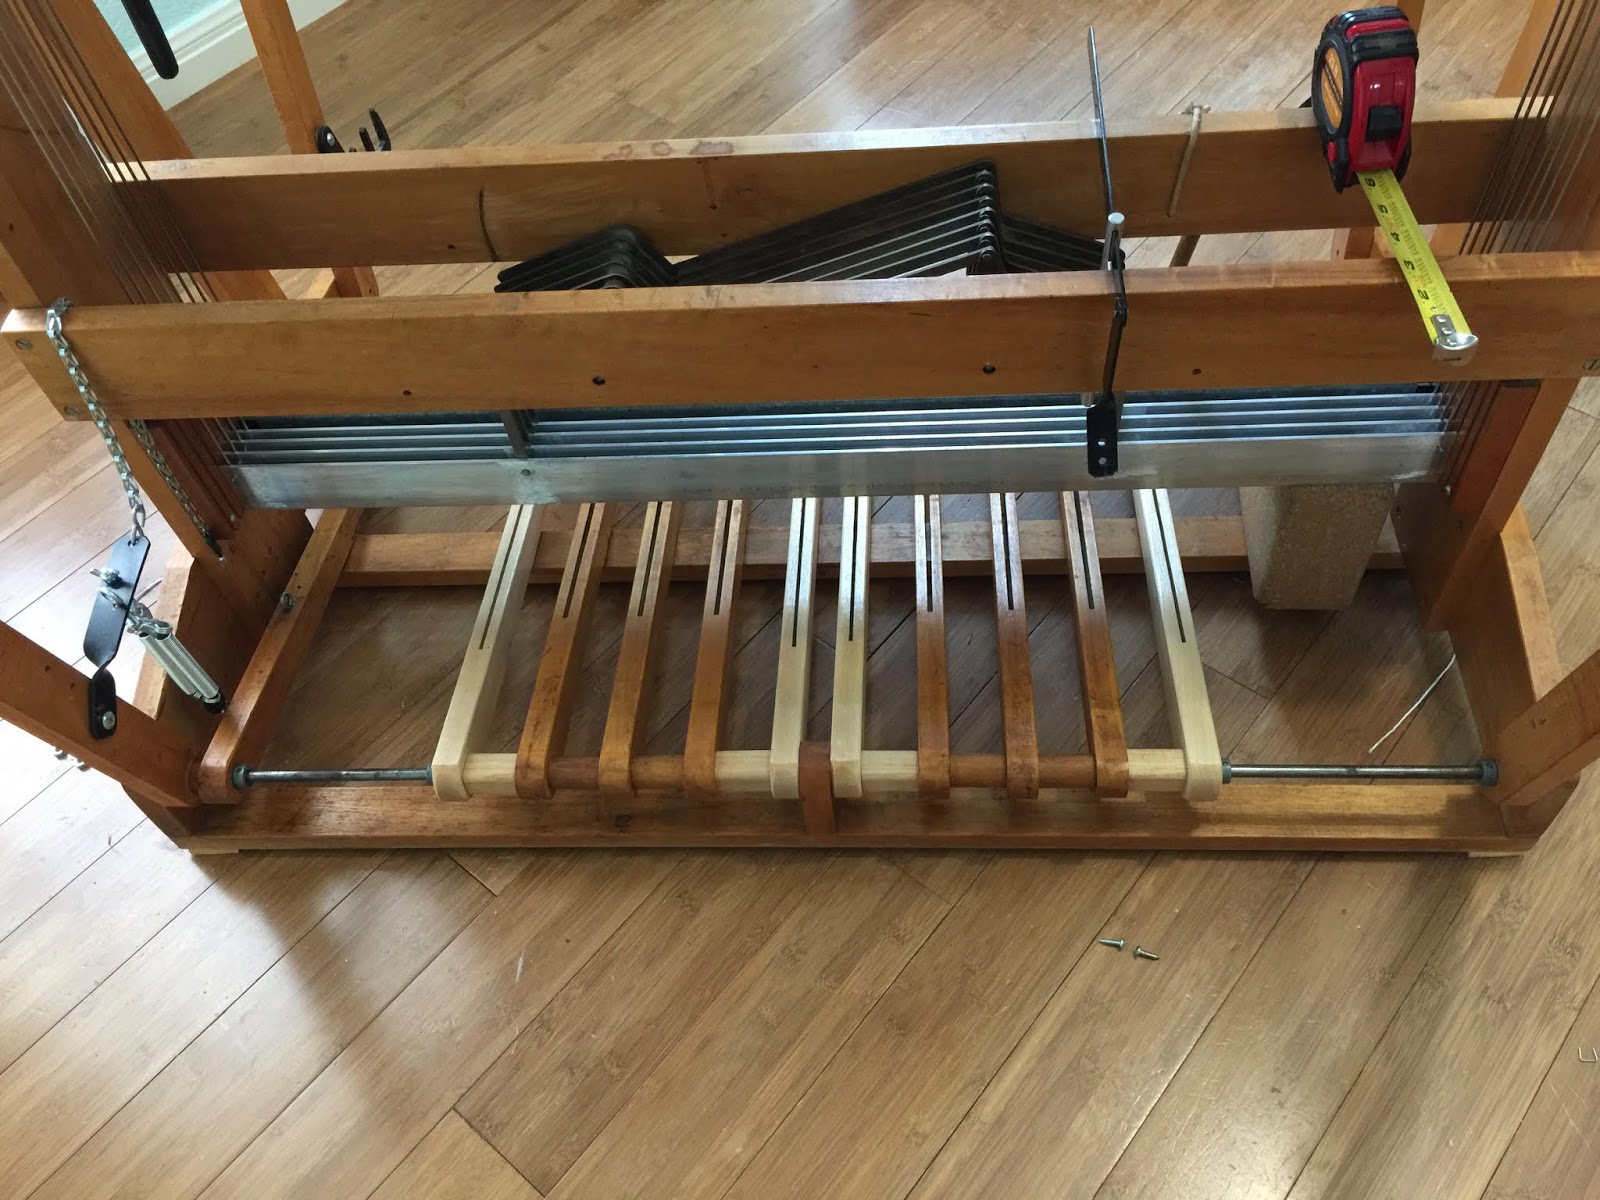
Here is a shot from the back of the loom:
When we upgraded the Beast, I bought a pair of harnesses at a time, rather than the four harnesses I really wanted at once.
Thus, the husband had to take down the loom twice in a year to get him up to four shafts.
The budget originally dictated the two separate purchases, but it was a rookie mistake, as I had to pay a significant amount in shipping twice.
So, when it came time to order the extra shafts for Lil' Miss, I waited until I could afford all four harnesses at one time.
Due to her age (she was built in 1968), I thought Lil' Miss would be more difficult to take down; however, because she is smaller at a 32" weaving width, it was far easier to move the rods necessary to add the treadles to her. By comparison, the Beast has a 56" weaving width. According to the wonderful husband (aka The Loom Whisperer), the upgrades to the Beast were 10 times harder.
He then added the new lamm depressor.
Nostalgia convinced me to keep the original one (hanging from a cotton rope on the left). The new one is on the right and attached to the cross piece on the back of the loom.

Lamm depressors appear to be unique to Macomber looms. I have not seen one anywhere else. They are nothing short of genius!
The original depressor was nothing more than a dowel with a notch in the bottom, which fit on a lamm. To add a treadle hook, the lamm was depressed; however, sometimes, it takes more than one hand to attach the hook or to hold the treadle up so the hook could be attached.
The new lamm depressor has a piece of metal on the front that latches onto the bottom of the front cross piece and holds the depressed lamm in place, which frees both hands to do the tie up. Further, if you start from the back and depress the 8th lamm, you can tie up all the treadles needed for that shaft at one time. Brilliant! Fast! Easy!
In fact, I did all my tie ups while the husband swapped out the end unit on the existing (top) plain beam from a ratchet and pawl brake system to a drum and friction brake.
This is what the old brake looked like, as I received the loom. The seller threw in the shoe lace set up, which I believe was an after market addition.

Here we are with both beams installed with friction brake systems and a lot of new hardware. Please note, the brake cables need to be trimmed and tidied, but I wanted to use the loom first, in case we needed to make a few adjustments.

While he was attaching the rods from the lamms to the pulleys above, the hunky husband noted the wire guides on one side of the loom were missing.
There is a wooden block through which the thin wire rods run in this shot:

The piece is absent from the other side.

While I do not think the piece is critical, I have woven dozens of yards on her without issue, and it does not appear she ever had the piece, the Beast has one on each side.
When I contacted Macomber and submitted the photos, Linda told me the wire guide was $12.
Of course, I ordered one.
The keen eye may notice through the photos that both beams have new aprons, as well!
I mentioned previously that the cloth take up mechanism had a few chipped teeth.


As I continue to lament, the original parts were cast iron. The new parts are cast aluminum. I understand the economics switching to the less expensive aluminum, but it still grates me.
The cloth take up was not slipping badly, I just need to make sure it catches securely when in use. Thus, we decided to hold off on switching these out at the moment. I do have the peace of mind knowing I have what I need, should it fail.
Within minutes of the fabulous man in my life finishing up with the loom, I began to warp her.

Tea towels, of course!
I will be using twill blocks in warp stripes.
As I began threading the heddles earlier today, I realized how much I adore this lovely little loom.
The Beast is a dream loom, and I have enjoyed working on him, but this wee one is just so sweet. At some point, as I age, the Beast may grow too big for me. There is great comfort in knowing Lil' Miss will be there for me when that time comes.
In the meantime, we are all getting along famously!
There is much life left in them and me.
Happy Crafting!


Comments