Revelations

At this point in my weaving career, I am unsure how many warps I have beamed, but I do know I have beamed far more on a plain beam, than a sectional.
I would like to think I have the process down, but every once in a while, I decide to tweak something.
One of the goals in loading the back beam is to evenly space out the warp threads so they are the same width as they should be coming out of the reed. This ensures each thread is the same length, which, in turn, should result in even tension across all threads.
In reality, what happens is that the warp threads tend to draw in along the sides and crowd adjacent threads.
Some people prevent this from occurring by placing the raddle on the back beam.
My preference is to secure the raddle to the castle and keep the lease sticks between the back beam and raddle as I beam back to front.
One of the benefits of the raddle on top is to be able to run my fingers between the threads from the cross at the lease sticks to the raddle to untwist or catch knotty problems before a warp snaps.
I have been toying with the idea of using two raddles, one on top and one on the back beam.
While I have two raddles, one is 56” wide and the other is 36” wide, and the most recent warp I loaded was 40” wide. Thus, the two raddle experiment is on hold.
Instead, I simply taped off 40” on the back beam with blue painters tape and made sure after every crank to readjust the width of the warp to meet it.
Here is one side.

Prior to the tape, I had just eyeballed it.
I knew there was draw in, but I failed to realize just how much. With every rotation, I had to spread the end threads out over an inch on either side, which explains why those threads were a different length than 90% of all the other threads once the entire warp was beamed.
Further, I have routinely had difficulty obtaining consistent tension over those end threads.
Well, my little hack worked beautifully. I methodically kept the threads on both sides spread out to my weaving width. Once I threaded all 960 ends and sleyed the reed, I lashed on and began weaving.
A yard in, and I am very happy to report the tension across entire warp is even and consistent. I am thrilled!
Plus, what’s not to love about this hand dyed warp?

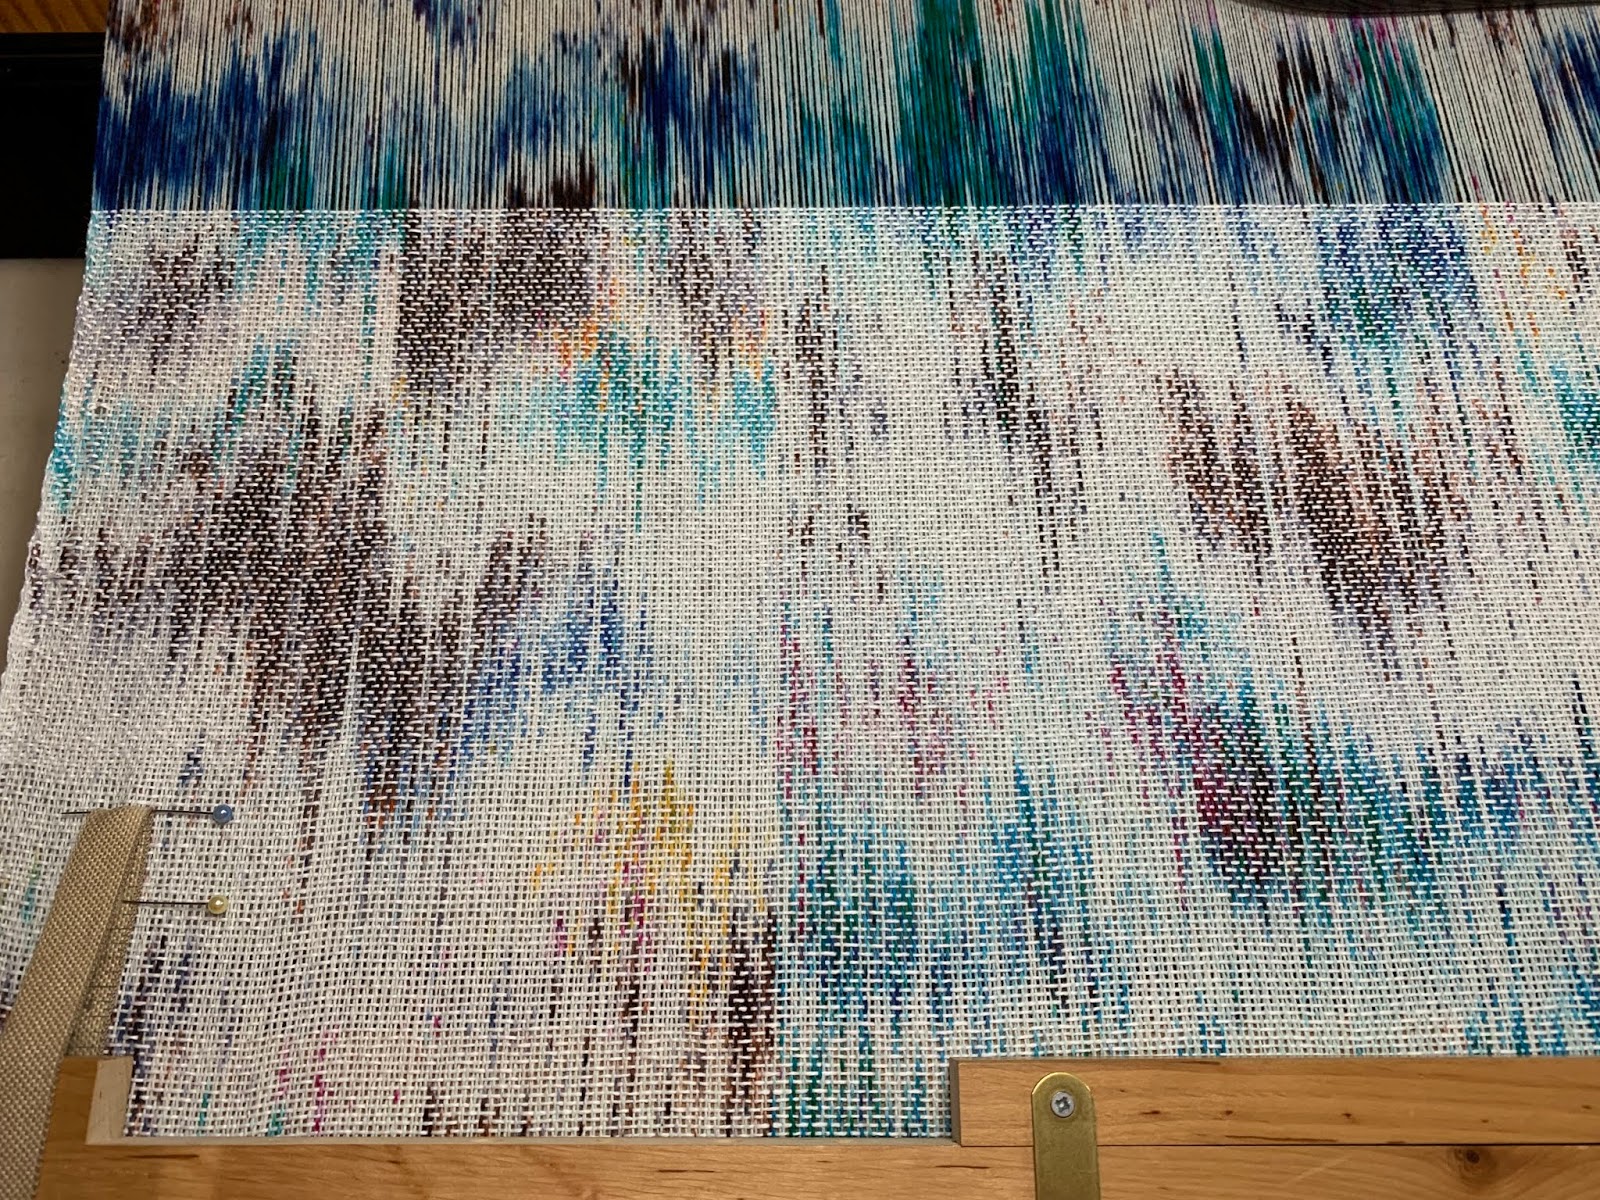


The pattern is subtle.
I found it on Pinterest and selected it because it was a simple variation on diamonds that covered the whole area. There are no really long floats. However, the occasional floats over two or threads create texture and interest without competing with the dyed warp to help create an interesting fabric. In the darker patches of dye, one can just make out the suggestion of diamonds. I think it is perfect!

The next two photos reveal just the hint of diamonds.


At first, I thought this 12 yard warp may take a while to weave, but the first yard took less than an hour. Because this is for a duvet cover and I am using an end feed shuttle, I omitted the floating selvedges. At first I thought if I needed them, I would add them, but it does not appear they are required, especially as the edges will be seamed.

So far, so good!
I am really not interested in weaving anything else right now.


Comments