Dyeing Cotton
Ten years ago, when I was obsessively knitting and designing knitwear, I jumped into dyeing wool. It was fun, and I enjoyed the added creativity dyeing afforded me.
Then, I discovered weaving and knitting has almost become nothing more than a fond memory. At most, I may knit one or two projects a year, instead of churning out dozens of shawls, socks, and sweaters.
My hands actually thank me, as I spend my days at a keyboard and the knitting needles did not help the joints of my hands or fingers.
In January last year (2020), I decided to dip my toes into dyeing cotton.
As I do with most everything, once the decision has been made, I devour all the information I can find on a subject. I pulled out my dye books, scoured the internet, and found a good bit of information, including YouTube videos.
There were dozens I watched, but the ones that were the most helpful were from a lady in Australia from Spell Bound Weaving.
She started with Everything You Need for Dyeing Cotton.
Episode 2: Preparing Your Yarn
Episode 3: Speckle Tutorial
Episode 4: Hand Painted Warp
The basic steps to dyeing cotton are:
1) preparing the thread (i.e., removing it from cones and securing it in a warp or hank);
2) scouring the thread (washing with hot water and synthropol or Dawn dishwashing detergent);
3) soaking the thread in a mixture of soda ash and water;
4) laying the thread out to be dyed;
5) applying the dye (either in its powder form or mixed with water and placed in condiment bottles);
6) allowing the dye to set (overnight or twenty-four hours);
7) rinsing, rinsing, rinsing, and rinsing the dye from the thread; and
8) allowing it to dry.
Because I had no interest in reinventing any wheels, I followed along with Spell Bound Weaving and copied her project for creating dyed stripes in a sea of undyed thread.
After I ordered the soda ash and dyes, I made four narrow chains, each two inches wide, which were to be dyed, as well as undyed chains in varying widths.


Before I applied the dye, I took a folding table in the garage and covered it with unopen black trash bags before I laid out sheets of clear cling film (Sarah Wrap). On the cling film, I put my chains.
Wearing a mask because the dye particles, once inhaled, attach to the lining of the lungs, I applied the powder dye to the cotton using a plastic spoon. To get the dye between the threads, I used a plastic fork.


From there, I lost my mind a little. I immediately made eight or ten warps and dyed everything I could get my hands on.
Around that time, Georgia Yarn Company had purchased a lot of 10/2 undyed and unmercerized cotton, which had been loaded onto the wrong kind of dye cones and could not be used by the mill. Initially, Michael offered them for $2/pound. He then reduced the price to $1.50/pound. When he was ready to close them out, they were $1.00/pound. In all, I purchased a little over 240 pounds of this thread. I spent more on shipping than the price of the thread, but it was a steal, nonetheless.
Throughout the spring and early summer of 2020, I blew through sixty or seventy pounds of it. At least a dozen warps were gifted to friends, and I have slowly been weaving my way through the rest of those warps.
In addition to applying the dye dry, I also mixed the dyes with water and used squeezable condiment bottles.
Here is a warp I made of four six-inch chains. When I laid them out on the table, I undid the chains to dye them. I made note of the order in which they were dyed (1, 2, 3, and 4). The dye was applied at an angle in hopes of making the colors more interesting when woven.


Once dry, I was ecstatic and named this colorway Feisty Sunset.

This warp languished in the studio from June 2020 (when it was dyed), until a few weeks ago, when I finally beamed it.


Here is another example of a warp chain I dyed and have already woven:


Initially, all the thread I dyed was for chained warps to be loaded onto plain beams, even though all of my looms also have sectional beams.
In June 2020, I ordered a Sawyerbee Warping Square. It arrived in August that year.
AVL makes a warping wheel, which works the same as the square. I chose Sawyerbee for two reasons: It came on locking castors to make it easy for me to roll from loom to loom and it had an option to add a motor for long warps.
To date, I LOVE the locking castors, but I overbought, as I have not used the motor, even when beaming a fifty-yard warp. I highly recommend the Sawyerbee, although, I would not advise spending the extra money on a motor.
Prior to purchasing the square, I used spools, a spool holder, and a tension box to beam sectionally, and I had not attempted to sectionally warp hand dyed thread.
With the square, I decided to give it a try.
I am aware that some people make one- to two-inch warp chains on their wheels or squares, dye them, then put them back on the wheel or square to load onto the beam. I have watched a video or two about this process.
To be perfectly honest, that does not appeal to me. I am content to beam hand dyed warp chains plainly; however, for a completely different dye effect, I also use my square to warp them sectionally.
To begin with, I prepare the thread by pulling them off a cone and into hanks. Initially, I used my swift to do this, but to get a few thousand yards in a hank or two, I found it hard on my shoulders.
Instead, I used the skein attachment to my Spinolution Echo wheel. (Photo courtesy of Paradise Fibers):

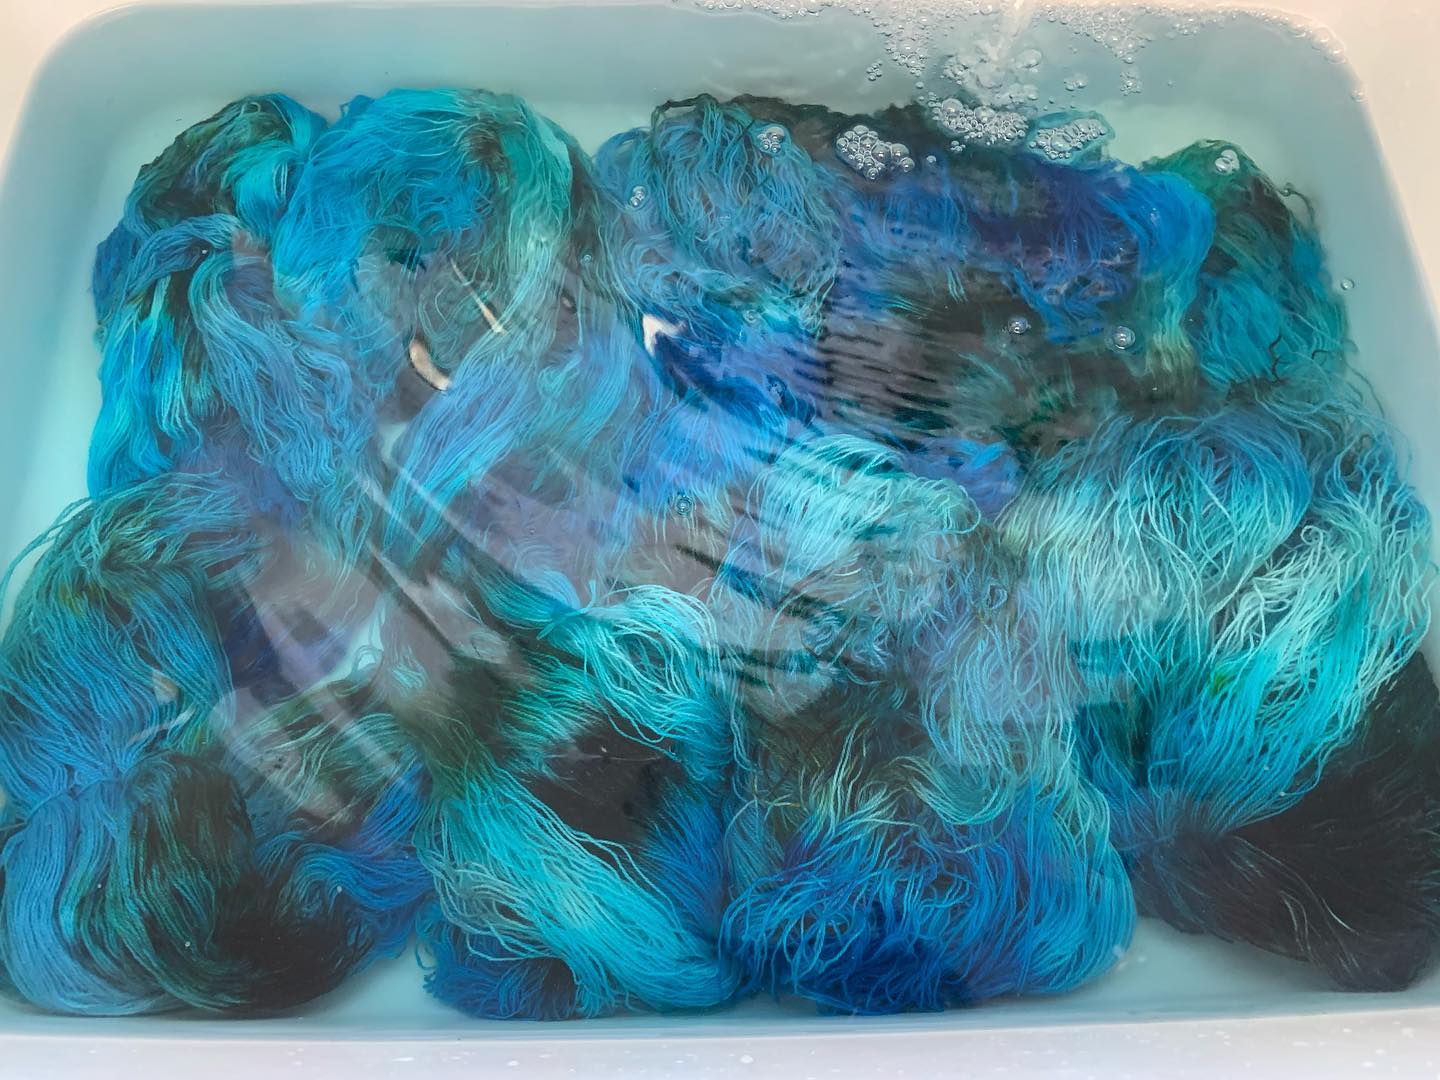
After I have wound the skeins/hanks, I do the exact same thing with the cotton, as I do with the warp chains, except, I place the hanks in plastic bins to dye because I do not need the length of a table for these. This is so much simpler. I omit the use of cling film entirely, as I simply attach the lid to the bin and allow the dye to set.
Here I used 8/2 cotton 60%/hemp 40%. The dye was applied dry.


I loved how it dyed and used it with undyed 8/2 cotton/hemp to create a warp with asymmetrical stripes.
Here it is woven using undyed 8/2 in natural with a few stripes of black weft. The obvious difference in dyeing warp threads this way versus warp chains is the colors do not pool.


Comments
Happy weaving and dyeing!
Christina