Weaving with Hand Dyed thread

A decade or more ago, back when I was seriously into knitting, designing knitwear patterns, and living/breathing all things wool, I also dyed a lot of the protein fibers (i.e., wool, silk) I worked with.
With weaving, I did not begin to play with dyes and cellulose fibers (cotton, hemp, linen) until just a few years ago.
Fortunately for me, when I went down that rabbit hole, I discovered Alix Victoria’s videos on dyeing cotton. She was the mastermind behind Spellbound Weaving. I am not sure where she went, but she does not appear to have updated her Instagram or Facebook group since December 2019.
In any event, she has a multi-part video series on how to get started dyeing and hand painting cotton. I bought a couple of books, read and watched everything I could find on the internet, but her videos were the most helpful. There is not much, if anything, I can add to the videos on how to dye cotton, so I encourage anyone interested in the process to watch them and take notes.
Since my initial forays into dyeing cellulose fibers, I have discovered how visually different warps weave into fabric, depending on whether the threads are prepared in hanks or in chains.
Now, I beam my warps one of two ways: plainly using chained warps or sectionally using hanks; however, I am well aware hanks can be converted to warped chains, I just rarely use them that way. I say rarely because the only instance in which I use hank dyed threads for a chained warp is when I have leftover thread on spools that I have previously used for sectional warps and/or for wefts. I understand not everyone has the need for sectional beaming equipment. There is absolutely nothing wrong with making warp chains from the hanks; and if that is how you wish to do them, I encourage you.
As I frequently field questions regarding my dyed threads and warps, I thought I would share what knowledge I have (and there are so many people who know vastly more than I do) based on my own efforts.
This blog post has been in the works for a while now, as I wanted to have samples to share.
When I say hanks, I am referring to a single thread, which has been wound in a circle, secured, and often twisted into a skein.
This is what my cotton hanks look like prior to dyeing:

To create the hanks, I have used a swift, but I found the skein maker attachment for my Spinolution Echo spinning wheel is much easier and quicker for me. While I have the option to make one-yard or two-yard hanks mine are two-yards in circumference.

I am actually pretty methodical when it comes to making these because they are intended for dyeing. So, I need to know how many grams/yards each hank is, and I may go a little overboard with securing them as much as possible to make them useable and not a screaming rat’s nest.
I have a digital scale to weigh the cone before I begin. I make a note of the weight in grams. My goal for each hank is 231 grams. There are ~454 grams in a pound. Half a pound is about 227 grams. To ensure each hank is approximately half a pound, I shoot for 231 grams because the thread sheds and there is some shrinkage during the process. This way, I know roughly how many yards I have once everything is dyed. Half a pound of 8/2 cotton is ~1,680 yards. One pound of 8/2 is 3,360 yards. For 10/2 cotton, one pound is 4,200 yards and one-half pound (227 grams) is 2,100 yards. I have also found half-pound hanks are easier to work with for dyeing.
While I am pulling thread off the cone, I stop frequently to weigh the cone. When it is about 231 grams lighter than when I started, I cut the thread, secure the ends, and use cotton twine to weave through the hank in three or four places to help keep everything secure and safe throughout the rigors of the dyeing process.
Here is a shot of a finished hank on the swift displaying a section I secured with the twine:

If the thread appears thick, this is a hank of 6/2 cotton, which is quickly becoming my go-to over both 8/2 and 10/2, particularly with chained warps because it beams like butter.
As to the chained warps, I use a Glimakra warping mill:

In the background is a SawyerBee Warping Square, which is also capable of making 2-inch wide chains, but to be perfectly honest, I have never made a chained warp on it.
Note: In addition to marking off 1-inch bundles [in this instance (photo below) these are groups of 24 because my sett is 24], I also secure the threads by weaving the cotton twine in several areas of the warp chain just as above in the warp chains.

These bundles are great! They help me keep the order of the threads straight and make life easier as I just drop each one in the raddle when I am beaming. This way I am only ever counting these threads ONCE.
It is possible to do a single chain the entire width of a project; however, I typically divide the total width into thirds or fifths to determine the total number of chains and how wide each chain will be because smaller chains make it easier for me to beam the warp plainly. I also keep the length of my chains at ten or twelve yards. For those of you who routinely beam dozens and dozens of yards with chained warps, I am in awe of you!
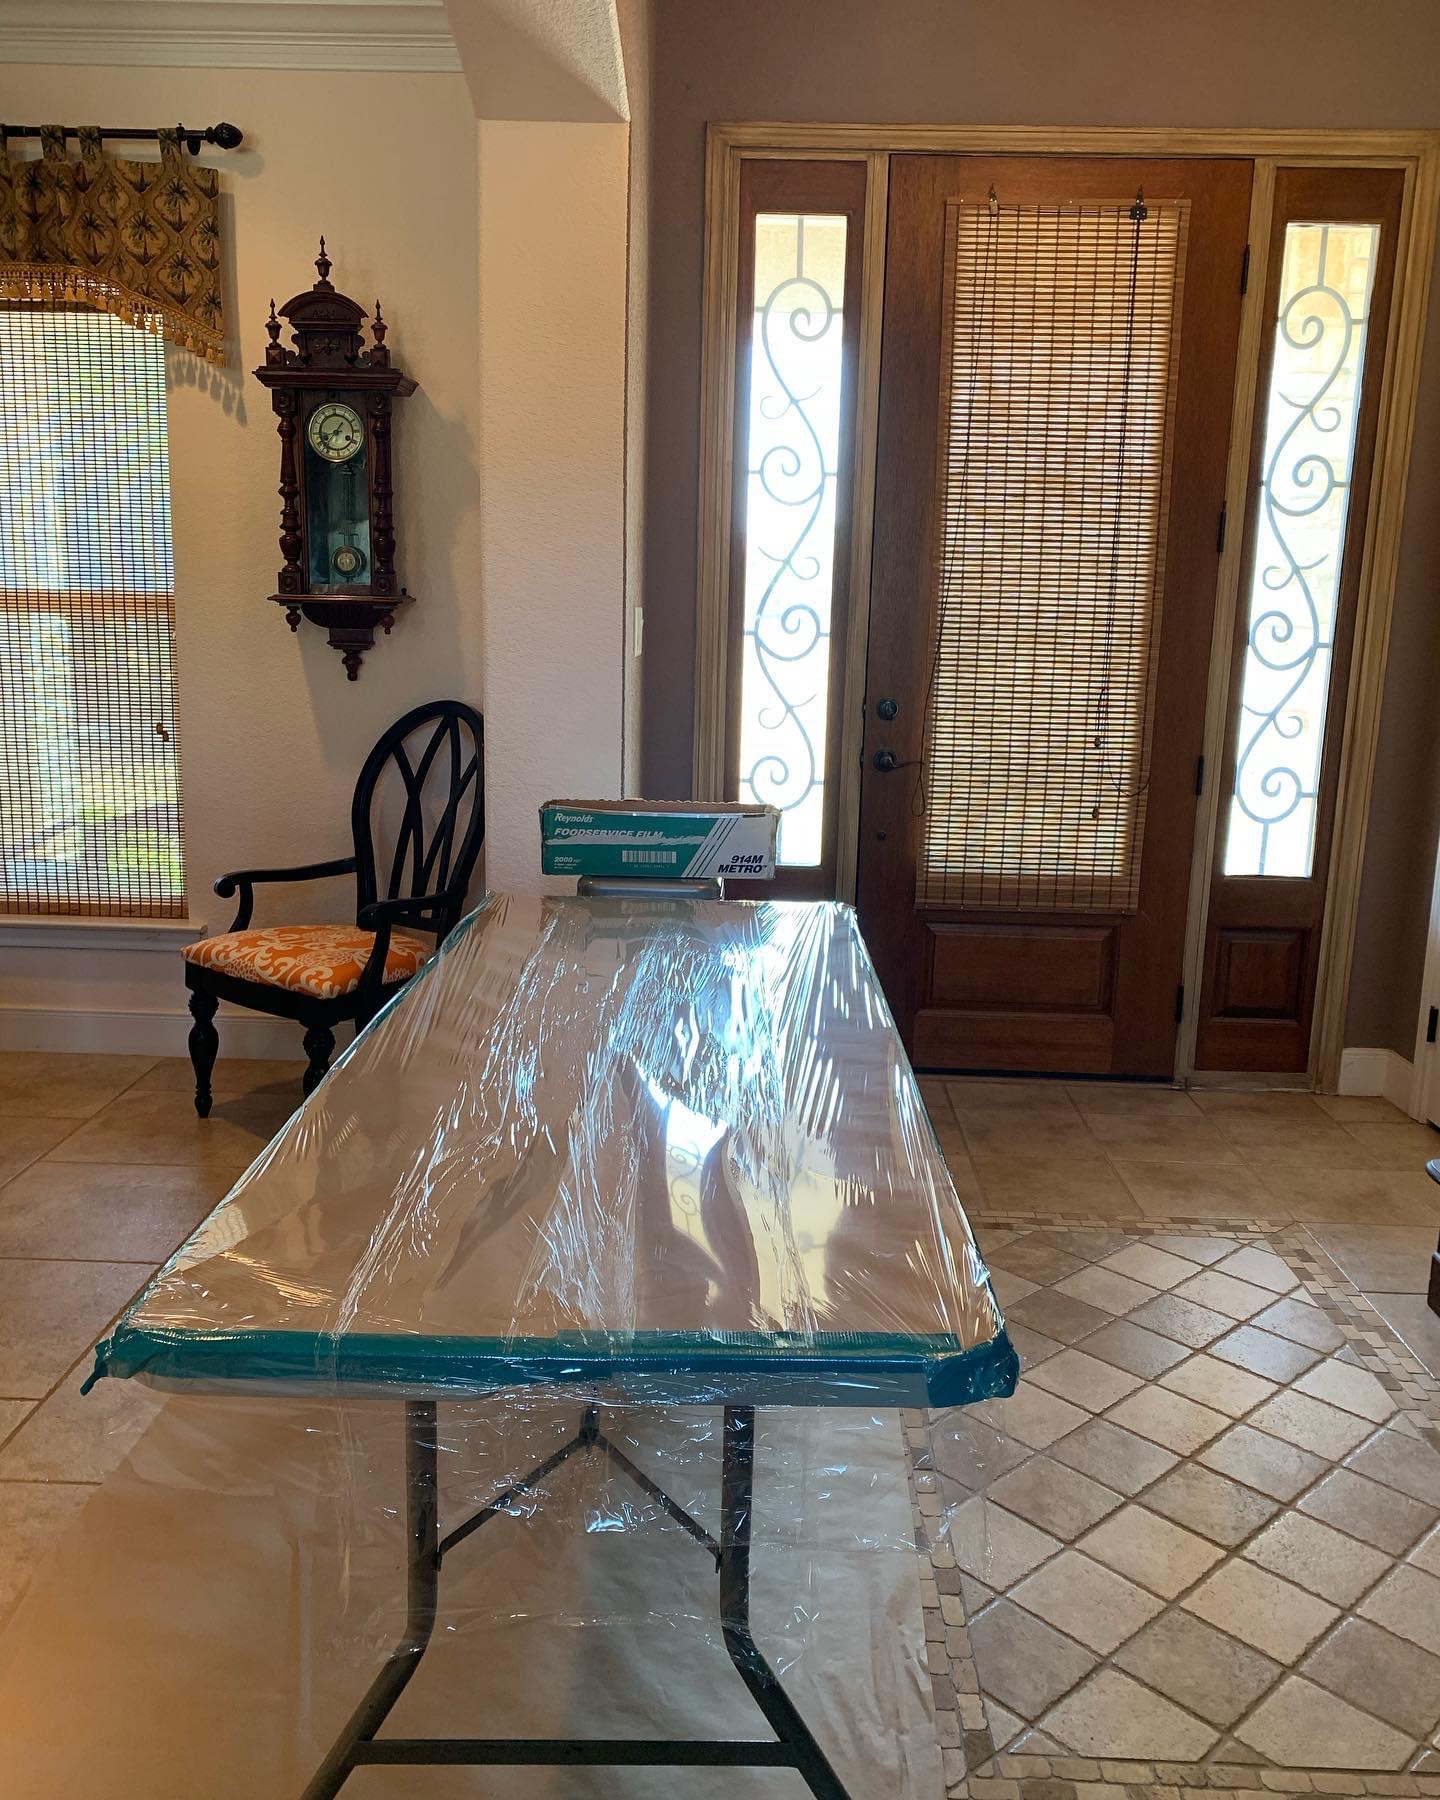
Once I have prepared my cellulose thread for dyeing (scouring with synthropol, rinsing, wringing*, and soaking in a soda ash mixture), I either lay my chains out on a folding picnic table covered first with heavy craft paper then with restaurant grade cellophane, overlapped to prevent leaking or in a plastic container for the hanks.


Now, I mentioned above there is a difference with chained warps whether the chain is undone prior to dyeing or not.
These are the exact chains that were dyed in the pictures above. They were dyed with loose chains. Two of these were laid out with the tails in the same direction while one was positioned in the opposite direction between the other two. I did this intentionally to create an interesting contrast in the project once warped.

Here are those chains as they were loaded back-to-front on a loom:


There is a lot going on with the warp. First, the center section was the warp I laid out opposite to the other two. Second, because the chains remained as I dyed them, the color transitions are not smooth as there are bursts of other colors invading the larger pools of color.
Here is the same warp as it was being woven:


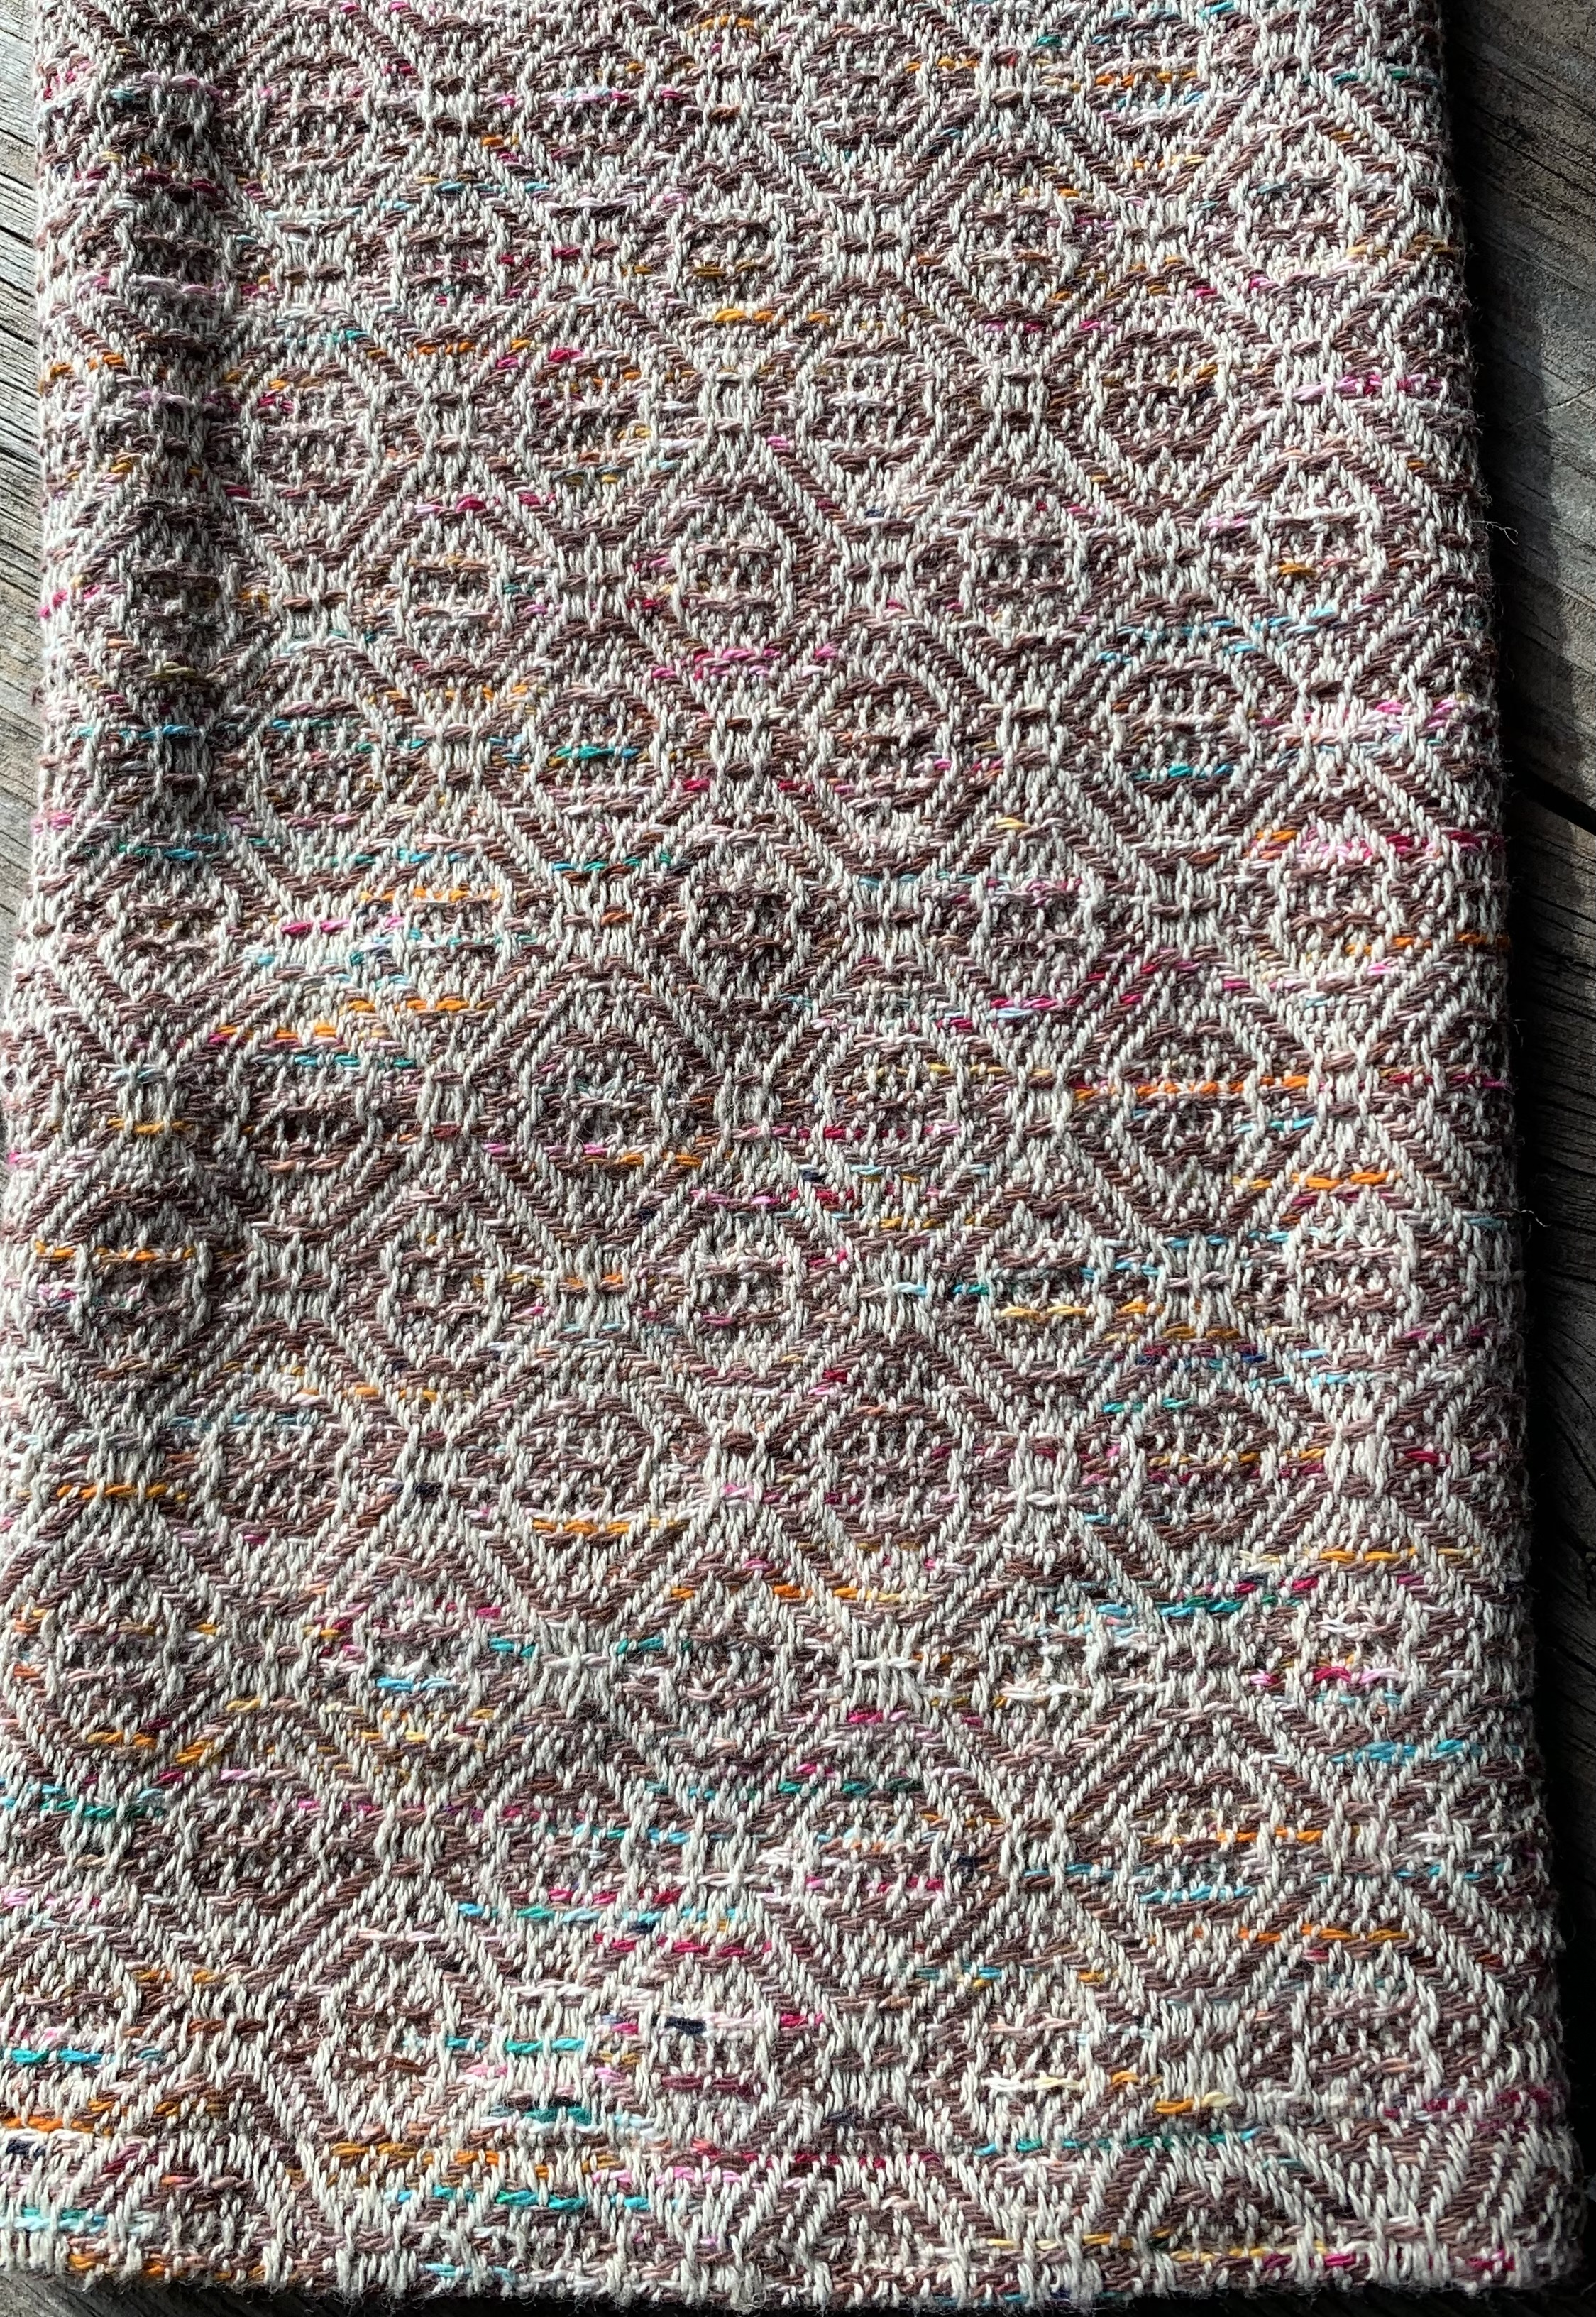
Finished:


With this warp, I unwound the chains before dyeing them, then re-chained once they had been rinsed and dried:


When I beamed it, the color changes were more distinct and intentional:


Comments