It's a Small World

A few years ago, a friend of mine was expecting her first child. I wanted to do something special for her. Baby wraps crossed my screen, and I looked into how to weave one.
When my children were small, I used a sling to carry them; however, as I discovered weaving since then, I appreciate how unique and versatile the wraps were.
My first attempt resulted in a calculating error, and my "wraps" spanned nearly the width of my 56" Macomber.
The fabric was gorgeous, and I made baby blankets and burp towels from it.


By the time I was ready to try again, another good friend was pregnant with her first child, as well.
I recalculated my numbers and checked them thrice before loading the beam again.


For a while, I stuck to weaving baby blankets and burp towels as gifts, but a few months ago, I decided to weave a few more wraps. This time, I decided to make a thirty-one yard gradient warp using the new Sawyer Bee Warping Wheel I bought at the end of the summer.

The warping square is primarily for sectional beaming of warps; however, it is possible to prepare up to two-inch chains to load onto a plain beam.
I prefer to use my Glimakra warping mill to prepare plain warps, as I like chains four- to five-inches wide at a time.
However, if someone has both a plain and a sectional beam, the square can accommodate both styles of beaming, and it is a good choice if the budget and space allow only one piece of equipment.
When beaming warps over twelve-yards, I much prefer to do it onto a sectional beam, I find the tension better. It is also easier.
Prior to purchasing the warping square, I used spools, a spool rack, and a tension box. To be perfectly honest, the tension with a tension box is superior over the square. Period.
In turn, the tension of the square is far better than plain beaming.
Further, beaming a sectional warp with spools, a spool rack, and tension box is the most efficient manner to beam IF the beam is a solid color.
That said, the most efficient manner to load a sectional beam with a gradient warp is the square.
To achieve the tension I prefer, I have even used a tension box with the square, but the exercise is incredibly inefficient. I found the gains marginal for the time expended.
In any event, this is the warp I came up with back in September for a batch of baby wraps:

At that time, I only knew of two ladies expecting babies, but by the end of October I had one more added to my list. Two weeks ago, as I approached the end of the warp and was seriously considering make hand towels out of the last quarter of it, another sweet friend shared her little bundle of joy is due to arrive this summer.
So, I kept weaving.
Yesterday, I was able to pull them all off, cut them apart, hem, wash, and iron everything.
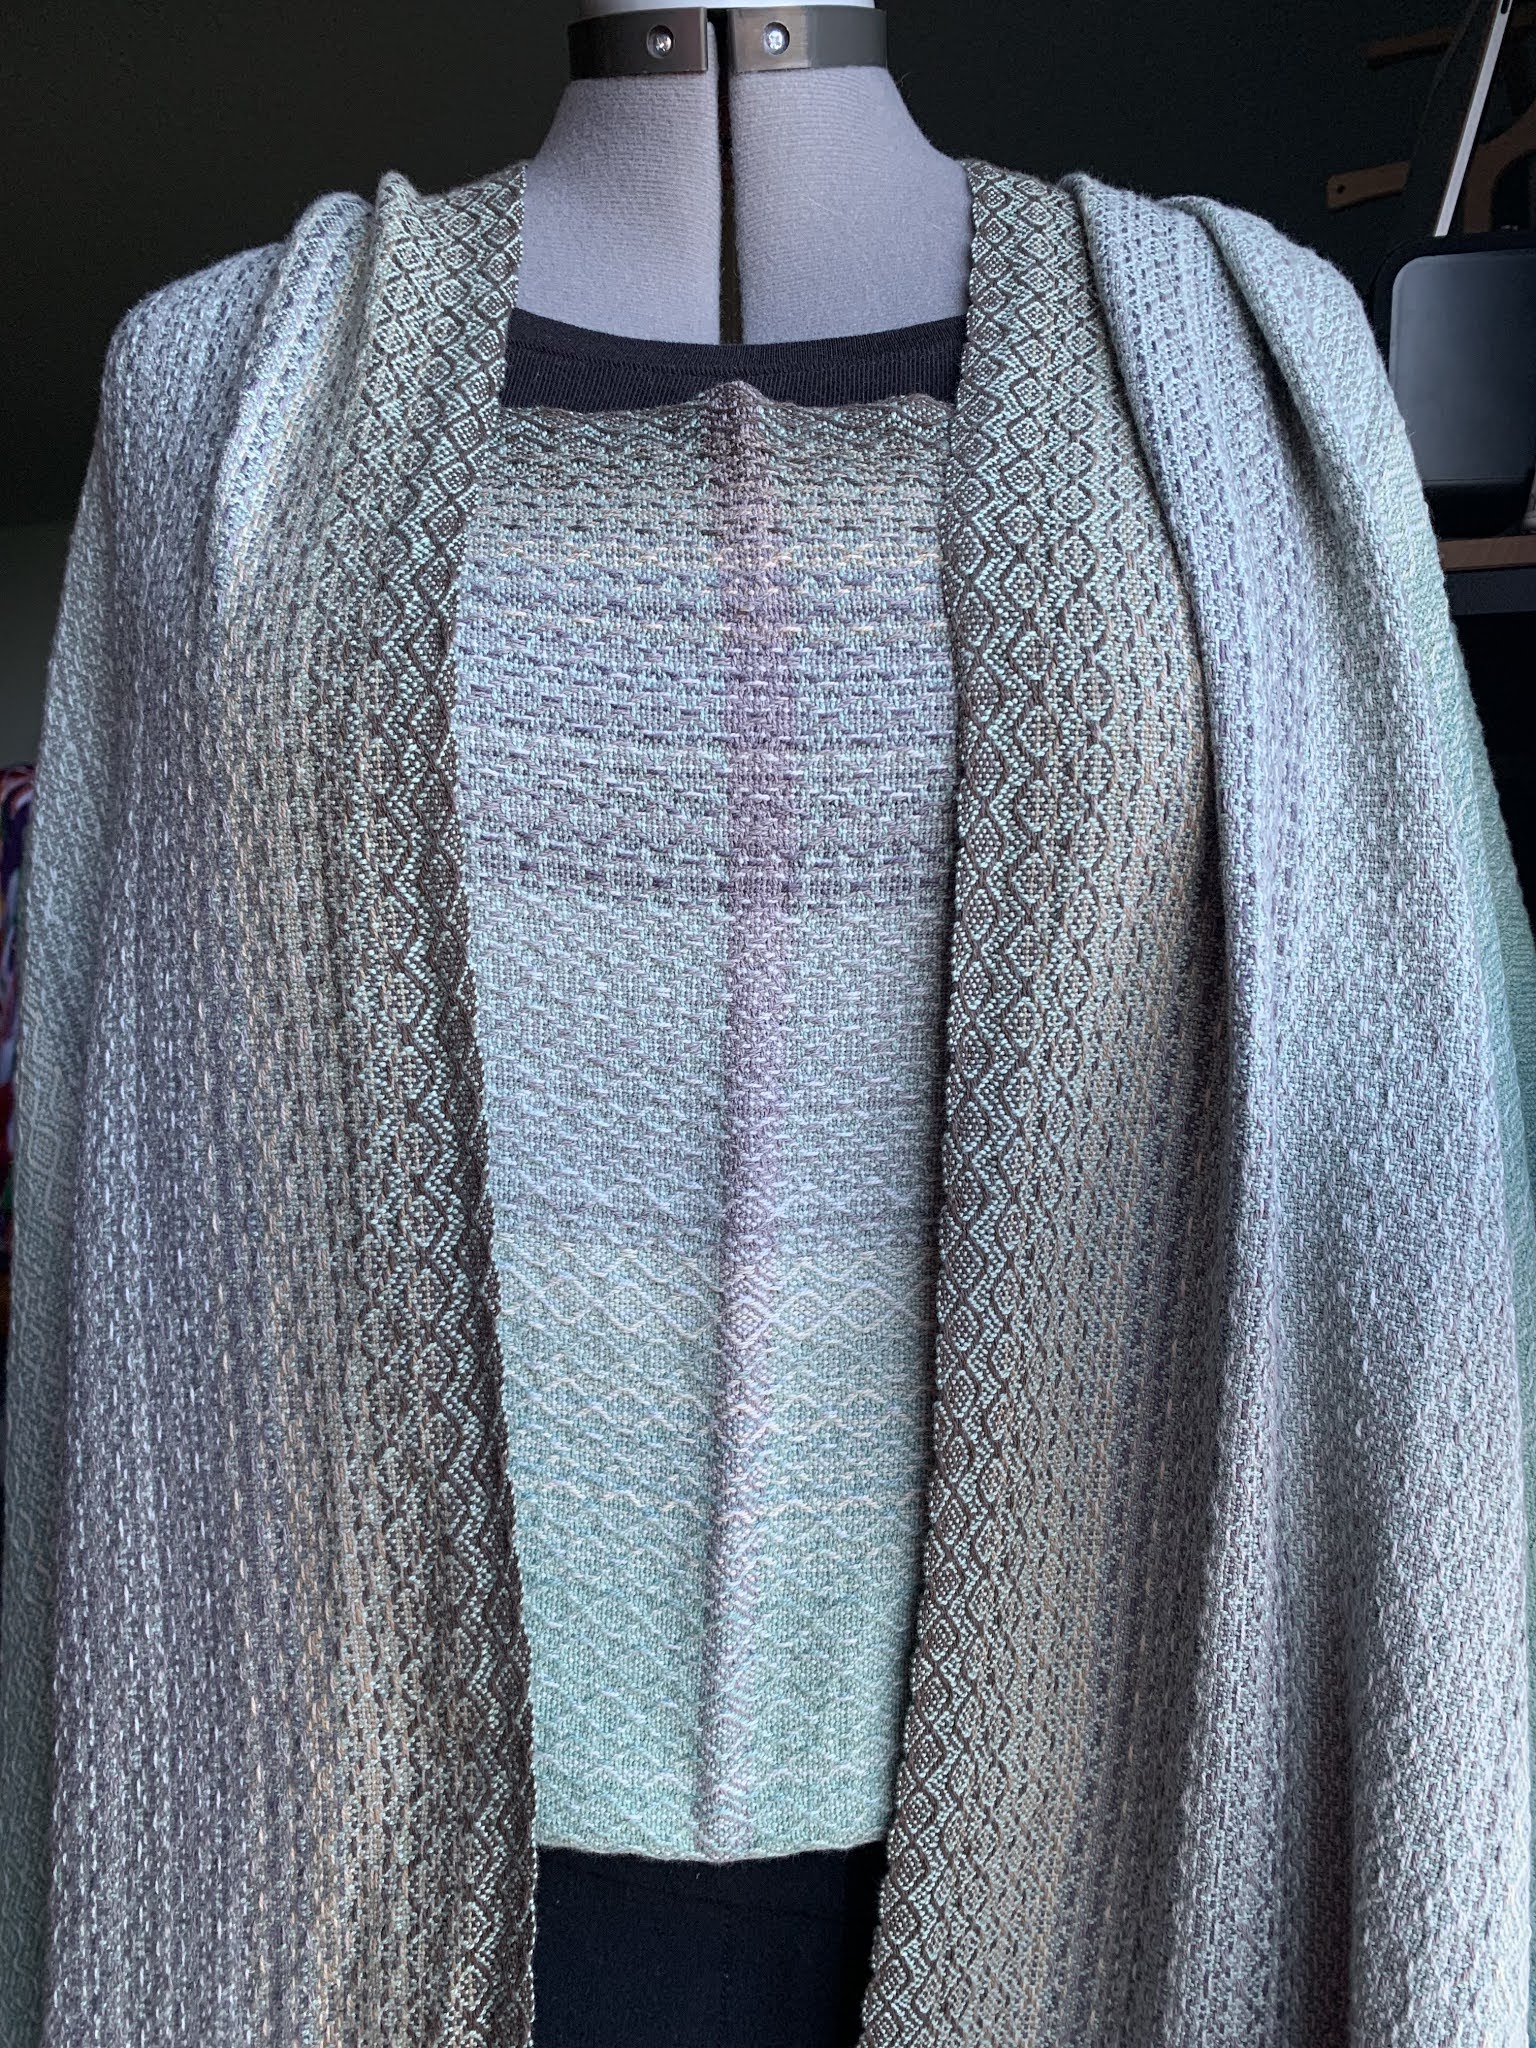
For weft, I basically used two different shades of green, as well as two shades of purple. The dark purple one got away from me before I was able to take photos, but here are the remaining three.
It's nice that there are two very different tones on each side of the fabric, which means it can be flipped top to bottom to achieve separate looks.
These are the same wrap with a medium green:


These are the lighter purple warp:


This next photo shows how different the bottom of the fabric looks with the exact same weft.

Here is the light, mint green warp:

As these wraps may present safety hazards, such as suffocation, if not used properly, I bought warning labels from Spoonflower to attach to them. Here is the label lying on top of the fabric.

Last night, as I was drafting this post in my head, I decided to do a search to see whether anyone had put together a tutorial on How to Weave a Baby Wrap.
I found a good one where the author gave an estimate of the time each step took her. It is enlightening, especially for those who do not weave.
She estimated it took her 40 hours to weave 10-yards of fabric from start to finish. Everyone's mileage varies, but the warp I just finished was 31-yards. According to her calculations, that would be well over 130 hours.
These are definitely made with love.
As I was reading through the tutorial and looking at the photos, I was struck by how familiar they seemed to me.
When I scrolled back to the top, I saw the lady's name.
I know her. She is on Instagram as @weavingatale. She is also the lady in California from whom I bought the 24" Macomber Meg. I can also say, I have met her!
Now, I have three bare looms.
Evangeline is the last loom standing with a warp.


As I sat down to reacquaint myself with her (this is only her second warp with me), I finished the first of twelve towels, and checked out the underside of the fabric.


I usually have a fairly good idea of what to expect from the back side; however, this one was a delightful surprise.
The draft is one I found on Pinterest:

Well, I hope 2021 is treating you well!


Comments